- By Role (Everybody, Attendees, Speakers, Sponsors, etc)
- By Tag
- By Status (Waitlisted, Without a Schedule, etc)
- By Session
- Individual Participants
Customizing Email Announcements
By Role (Everybody, Attendees, Speakers, Sponsors, etc) #
Send participants email announcements with registration times, sponsor messages, or parking instructions. Every Sched plan includes unlimited email messaging.
- Go to Messages.
- Select a role.
- Fill out the form and send your email right away or schedule it for later. Scheduled emails cannot be reviewed or edited so be sure to send a test first.
By Tag #
You can tag the participants in your event. Use the tags to group people together and send messages to participants based on their tag. Tags are visible to admins only.
Requirements: Tags cannot contain comma, quotes or newlines. They must be less than 255 characters.
- Go to Messages.
- Select “Attendees w/ a tag.”
- Select a tag from the “Send To” dropdown menu. You will see the number of participants with that tag.
- Edit the subject and add your message. Send your email right away or schedule it for later. Scheduled emails cannot be reviewed or edited so be sure to send a test first.
How to add tags:
1. Go to your event’s Control Panel
2. Under Settings > General tab, scroll down to People Tags click Edit
3. Type in your new tag then click Add and Save
By Status (Waitlisted, Without a Schedule, etc) #
Remind attendees they can choose a different session if they’re on a waitlist. Make sure attendees with empty schedules remember to schedule sessions before the event.
- Go to Messages.
- Select the group you want to target from the “Send New Message” area.
- Fill out the form and send your email right away or schedule it for later. Scheduled emails cannot be reviewed or edited so be sure to send a test first.
By Session #
Email updates to attendees within a particular session. This is great for session time changes or cancellations. You can also segment based on their status of attending or waitlisted.
- Go to Schedule.
- Click on the session you want to email and then “Message.”
- Fill out the form and send your email right away or schedule it for later. Scheduled emails cannot be reviewed or edited so be sure to send a test first.
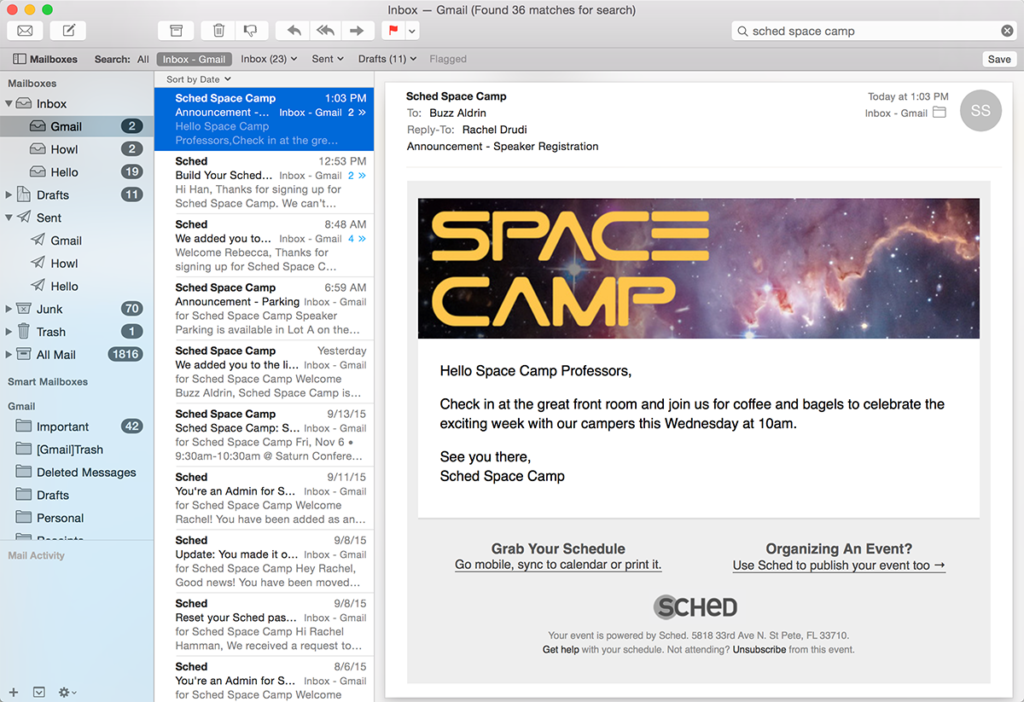
Emails sent by session will include your header and custom message:
Individual Participants #
Get in touch with an attendee if they lost a wallet at lost and found. Follow up with attendees on post-event connections.
- Go to Attendees.
- Click the attendee’s name and then “Message.”
- Fill out the form and send your email right away or schedule it for later. Scheduled emails cannot be reviewed or edited so be sure to send a test first.
Message Log #
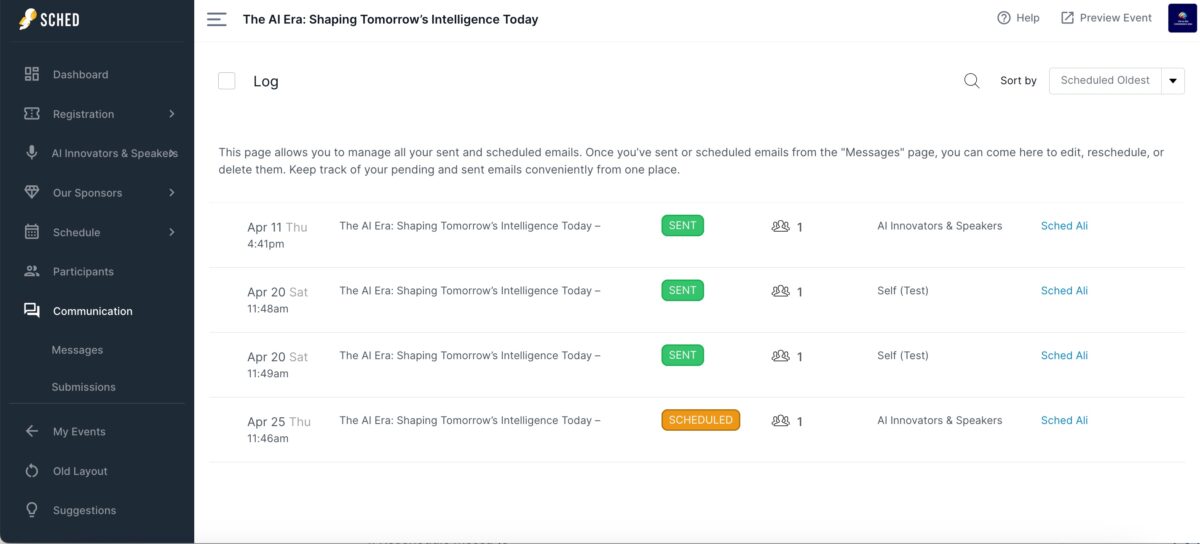
You have full control over your sent and scheduled emails. After sending or scheduling emails from the ‘Messages’ page, you can go to the email Log section to make edits, reschedule, or delete them as needed. Conveniently keep track of both pending and sent emails all in one place.
How to access your email log?
- Go to your event’s Control Panel
- Under Communications tab go to Messages section
- Click on Log


